Getting started

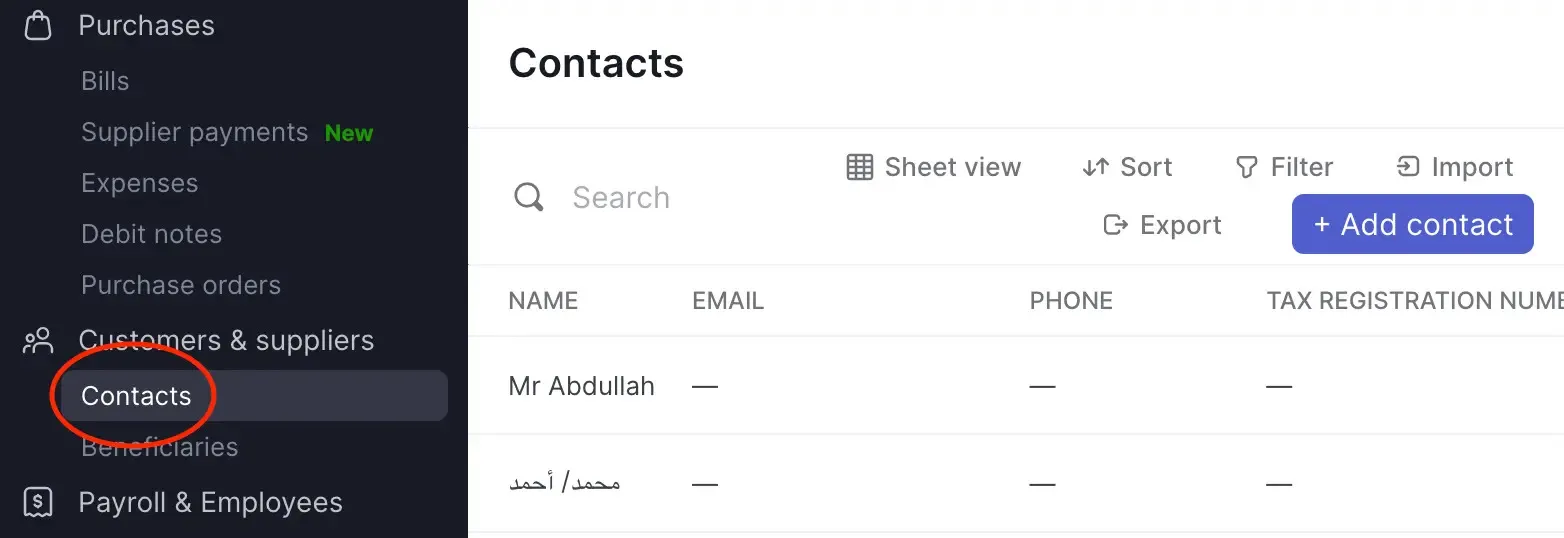
1. Import your contacts
The first thing you’ll want to do in Wafeq, is to "import your contacts" so that the invoices, the bills, and the expenses that you will later on import, recognize these contacts.
2. Set up your chart of accounts
Next, "set up your chart of accounts". If you’ve been tracking your revenue or expense categories in a spreadsheet or other accounting software, you’ll want to recreate these accounts in your chart of accounts. You’ll want to identify them and organize them in your chart of accounts. You can also customize your chart of accounts, create sub-accounts, or delete accounts.

3. Set up your customers and vendors opening balances
Although you can start using Wafeq without this step, you’ll want toset up your customers and vendors opening balances" to keep track of the amount you still owe them, or they still owe you.
4. Add your bank account and set up an opening balance
To receive or make payments from your bank account, start by adding your bank account to Wafeq. If you wish to import only part of your bank statement starting on a specific date, you can also set up an opening balance for your bank account on that specific date.
5. Set up an initial quantity on hand for your inventory items
If you have inventory stock that you want to import into Wafeq, you can do so by "setting up an initial quantity on hand of your inventory items". This will help you keep track of the quantity changes after you create invoices and bills for these inventory items. The items’ details will also be automatically added to your line items as you are invoicing or billing your customers and vendors.
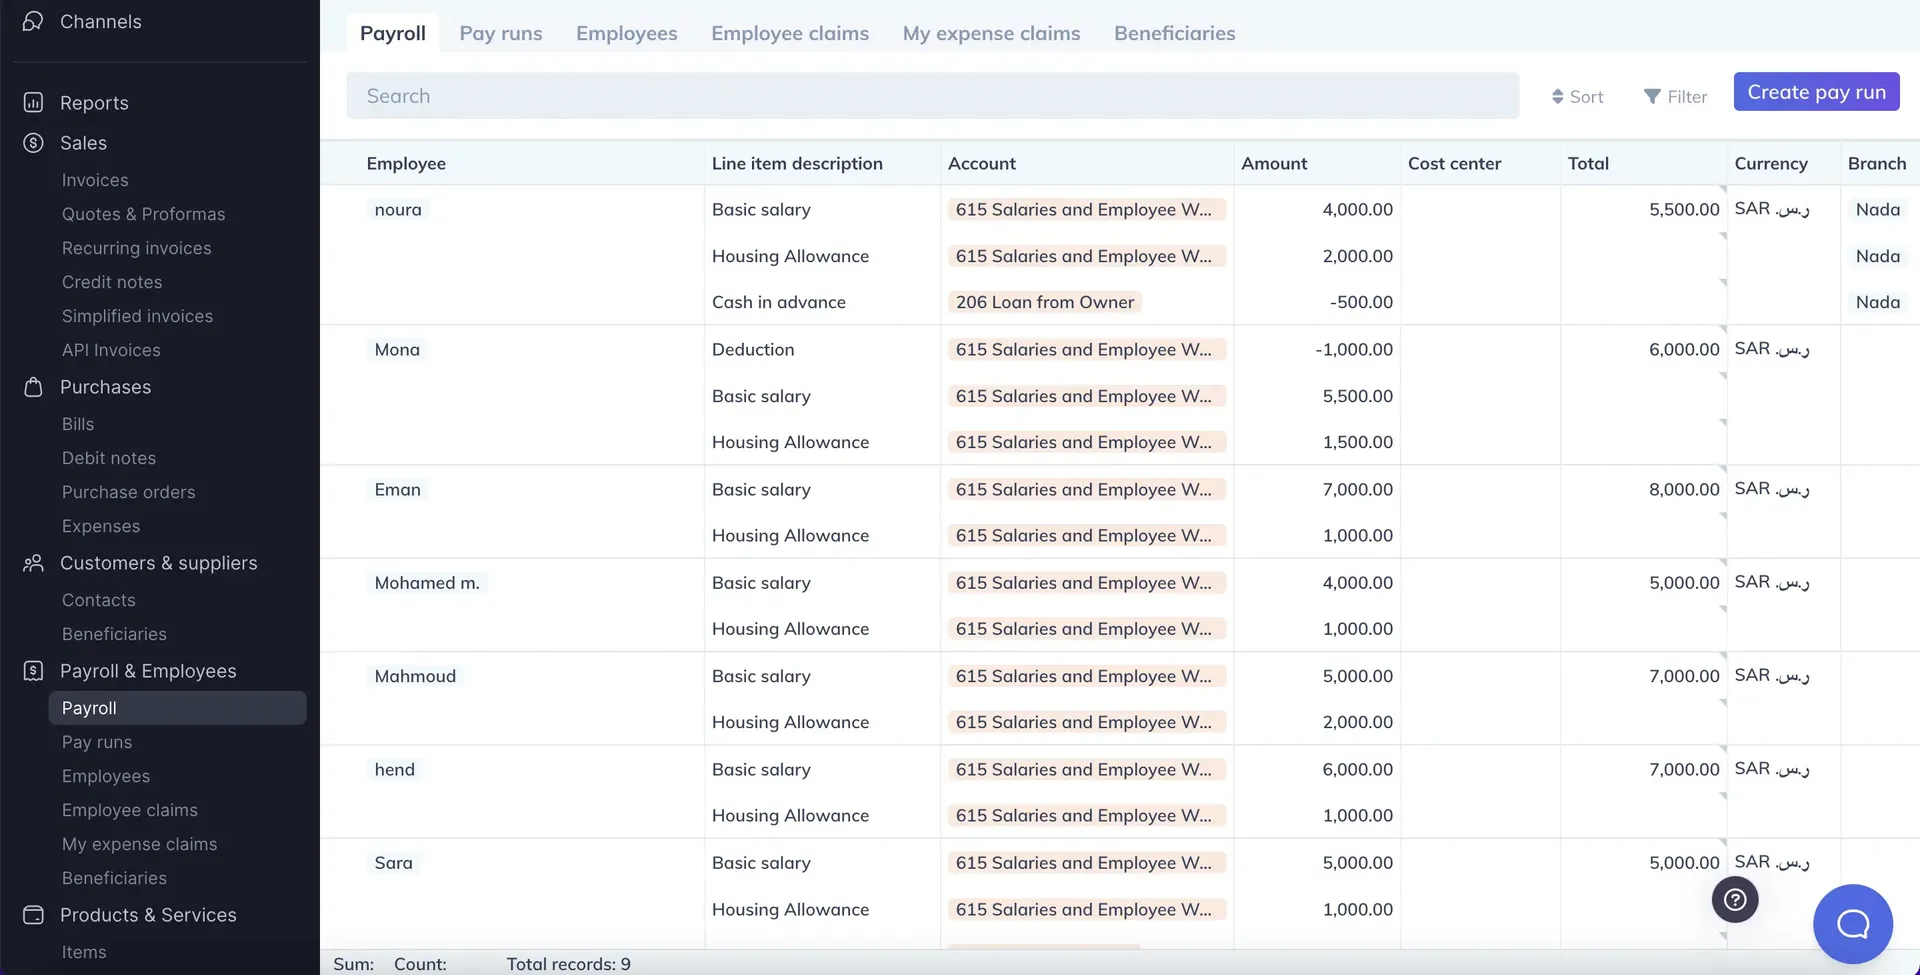
6. Set up your payroll
To record your salary expenses in the correct month, you’ll want to add the list of your employees and their salaries. After "setting up payroll", you will also have the option to reimburse your employees directly in their payslip cycles and manage their expense claims.
7. Import your expenses
"Import any expenses" you have recorded in your previous system.
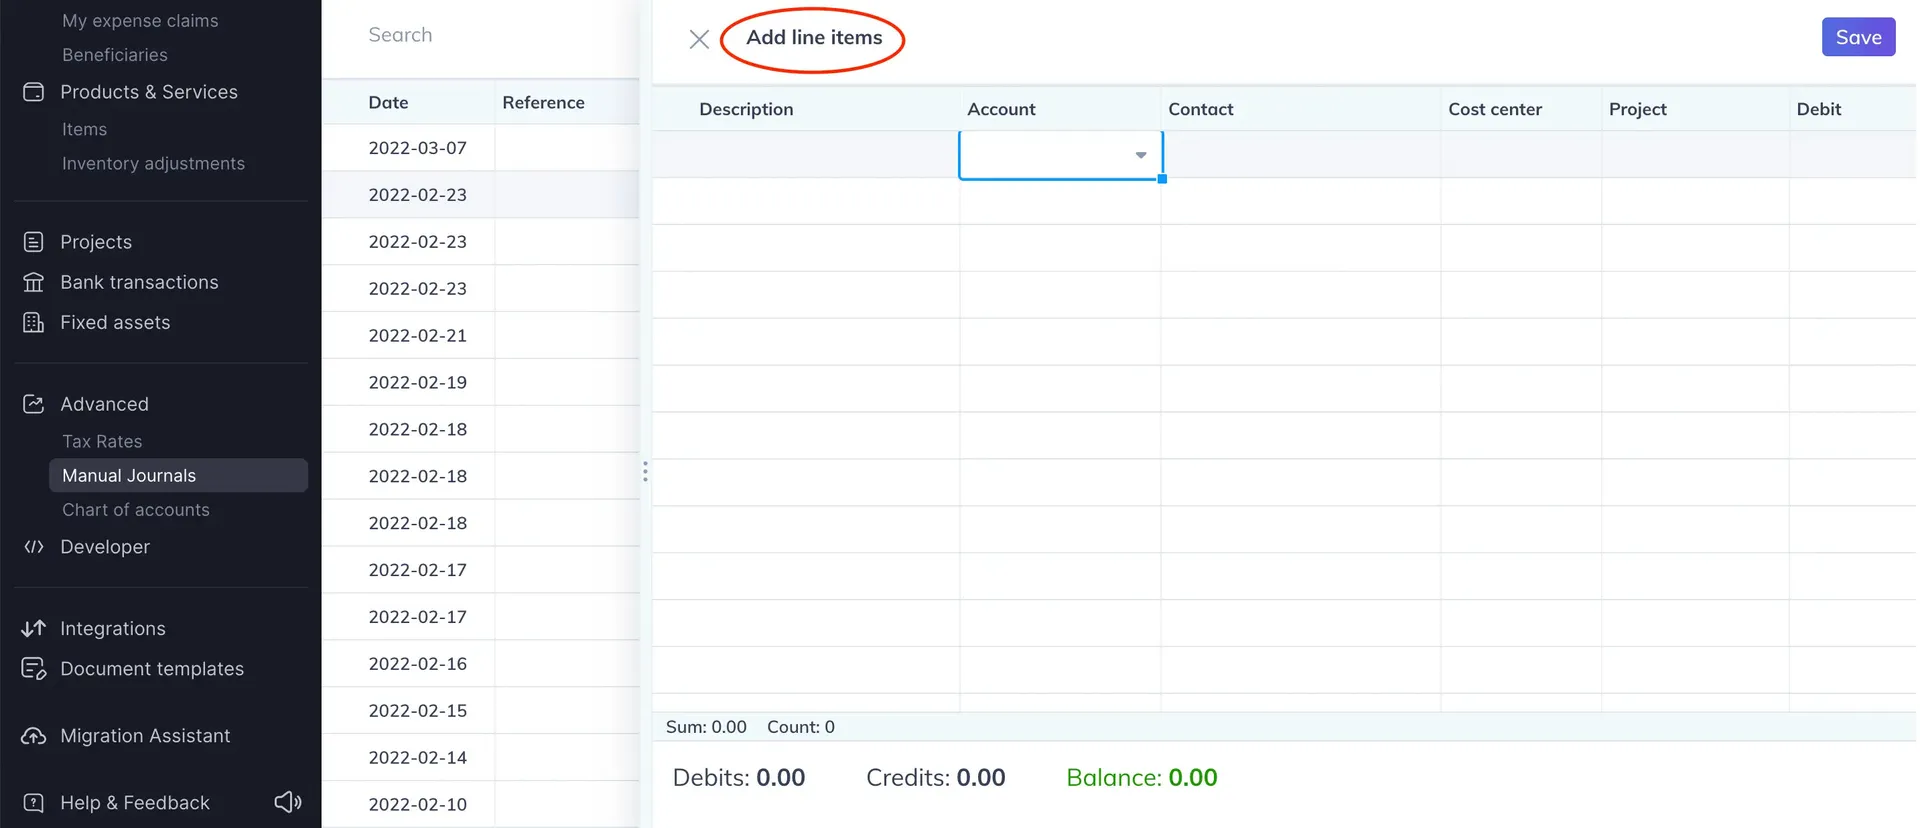
8. Set up opening balances for the rest of your accounts
After you set up the opening balances for your customers and vendors, bank accounts, and payroll, and set up an initial quantity on hand for your inventory items, you can "set up the opening balances for all of the rest of your accounts" in one go.


![New Product Features [March-2023]](https://firebasestorage.googleapis.com/v0/b/wafeq-docs.appspot.com/o/medias%2Fd68397dc_Help Center - EN Article Cover-22.png?alt=media)


.png?alt=media)

